Astrophotography Gear Checklist for Bryce Canyon
Bryce punishes two kinds of photographers: the under-dressed and the under-batteried. This is the kit that survives a full night on the rim at 8,000+ feet — ordered by what will actually ruin your shoot if you skip it.
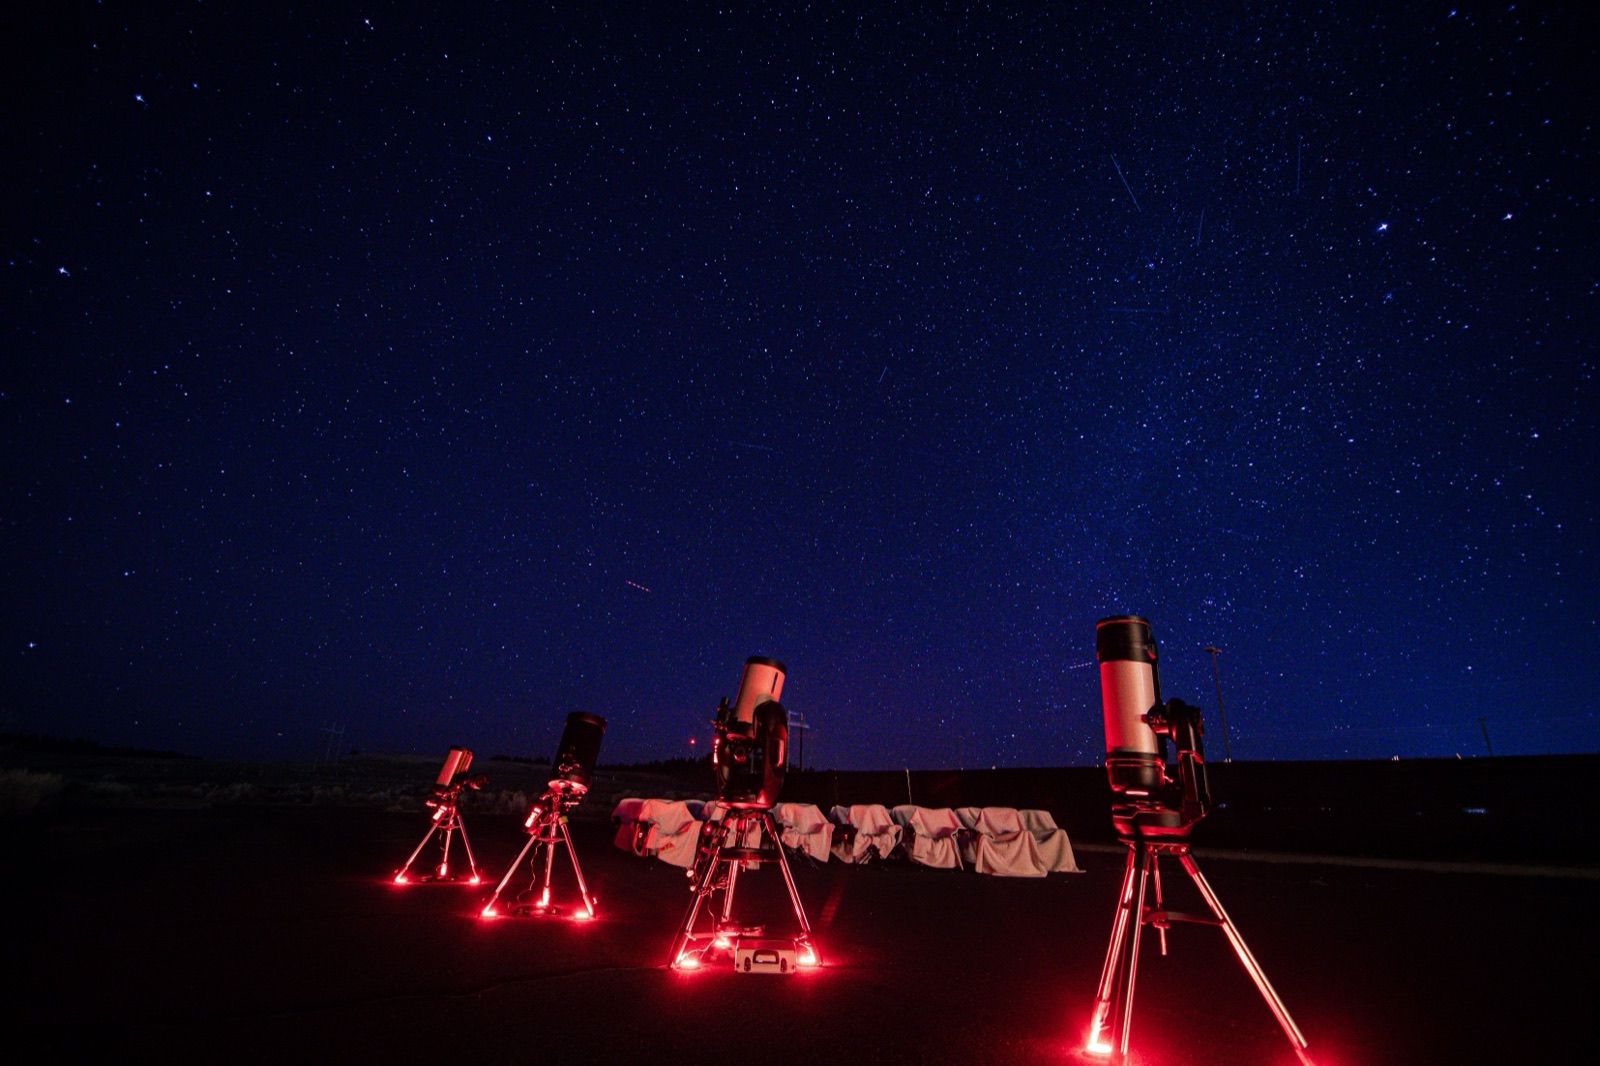
The Checklist at a Glance
| Item | Priority | Why it matters at Bryce |
|---|---|---|
| Sturdy tripod | CRITICAL | 15-second exposures; rim wind gusts |
| Headlamp w/ red mode | CRITICAL | Night vision, etiquette, hands-free on the rim |
| Insulated layers | CRITICAL | Nights in the 30s–40s°F midsummer, 20s in shoulder season |
| 3–4 spare batteries | CRITICAL | Cold cuts lithium-ion capacity hard |
| Fast wide lens | HIGH | f/2.8-or-faster, 14–24mm class |
| Intervalometer | HIGH | Stacking bursts, trails, timelapse |
| PhotoPills + Stellarium | HIGH | Core position, NPF, moon windows |
| Star tracker | OPTIONAL | Minutes-long sky exposures at ISO 800 |
| Hand warmers, hot drink | COMFORT | Morale at hour four; lens-warming hack |
Tripod: The Most Boring Critical Item
Every frame you take at night runs 8–20 seconds. A flimsy tripod converts your perfectly calculated NPF exposure into mush, and the rim of the amphitheater funnels wind in gusts even on calm-forecast nights. You do not need an expensive tripod; you need a rigid one. The field tests: with your camera mounted and the center column down, press lightly on top — nothing should flex — and tap the body during a 15-second test frame to see if stars double.
- Keep the center column down. An extended column is a mast for vibration.
- Hang your bag from the center hook in wind — or better, shorten the legs and shoot low.
- Spiked or rubber feet both work on the rim's compacted gravel; just plant all three on stable ground and never set up walking-distance from an unfenced edge in the dark.
- Use a 2-second delay or the intervalometer to fire; never your finger on a long exposure.
Headlamp With Red Mode: Non-Negotiable
Full dark adaptation takes your eyes 20–30 minutes; one blast of white light resets the clock to zero. A headlamp with a dedicated red mode preserves your night vision, keeps your hands free for camera work on uneven rim footing, and — just as important — keeps you from torching the foreground of every other photographer's 15-second exposure within a quarter mile. Red-light discipline is the core etiquette of dark-sky sites, and it is enforced culture on guided tours.
- Choose a model that turns on in red without cycling through white first.
- Pack a backup light. A dead headlamp half a mile from the parking lot on an unfenced rim is a genuine safety incident, not an inconvenience.
- Use the lowest red brightness that works. Your adapted eyes need far less than you think.
Layers: It Is Winter-Cold Up Here at Night, Even in July
This is the one visitors refuse to believe until they are shivering at 1 a.m. Bryce's rim sits above 8,000 feet, and the high desert sheds heat fast after sunset. Midsummer nights run in the 30s and 40s°F, and May or September nights regularly drop into the 20s. Astrophotography makes it worse than hiking cold: you are standing nearly motionless next to a tripod for hours, generating no heat.
Dress like a winter shoot regardless of the calendar: a wicking base layer, an insulating mid-layer (fleece or down), a windproof shell, an insulated hat, and gloves — ideally a thin liner pair that can work the camera under a warmer outer pair, or fingerless gloves with a mitten flap. Insulated footwear and a closed-cell foam pad to stand on add more comfort than they have any right to. Chemical hand warmers go in your pockets and, rubber-banded to your lens barrel, double as a budget dew-and-frost heater on humid or freezing nights.
Batteries: Cold Is a Battery Tax
Lithium-ion batteries can lose a large share of their usable capacity in sub-freezing temperatures — pair that with hours of long exposures, live view focusing, and an interval timer running, and a single battery that lasts all day in summer can die in ninety minutes on a cold rim. The rules:
- Carry 3–4 fully charged spares for a full night, more in winter.
- Keep spares in an inside pocket against your body, not in the camera bag. A "dead" cold battery often revives once warmed.
- A USB power bank plus your body's USB-C charging port can run all-night timelapses; keep the bank insulated too.
- Same logic applies to your phone — and your phone is your planning computer and your emergency line, so guard it.
Star Tracker: The Optional Level-Up
A star tracker is a small motorized equatorial mount that rotates your camera in sync with the sky, breaking the NPF shutter limit entirely. On a tracker you can expose the sky for 1–4 minutes at ISO 800 and f/4 — pulling in core detail and color a 15-second frame cannot touch — then shoot the foreground untracked and blend the two in post. Portable trackers are genuinely backpackable now, and Bryce's clean southern horizon makes polar alignment on Polaris straightforward from most viewpoints.
Honest take: a tracker is the last thing to add, not the first. Master single frames and stacking first; a tracker amplifies a good workflow and complicates a shaky one. If you do bring one, practice the polar alignment at home — learning it for the first time in the dark at 25°F is misery.
Apps: PhotoPills and Stellarium
Two apps cover essentially all planning:
- PhotoPills — the working astrophotographer's standard. The Planner pins the galactic core's azimuth and elevation over a map of the rim for any date and time; Night AR overlays the core's path on your phone's camera view while you stand at the viewpoint; Spot Stars computes the NPF rule for your exact body and lens. Plan your month and moon window here.
- Stellarium (mobile or free desktop) — a full planetarium for checking what else is up: planets, the zodiacal light, meteor shower radiants, and exactly where the core sits relative to each viewpoint's sight line at any minute of the night.
Download offline maps and check both before you drive in — cell service inside the park is unreliable.
Lens cloths (several — they stop working once damp), a rocket blower, gaffer tape for locking focus, a memory card backup, snacks, water, and a thermos. And tell someone where you'll be: rim viewpoints are remote at 2 a.m.
The Item No Checklist Can Pack: Local Knowledge
All this gear gets you ready to shoot. It does not tell you which viewpoint fits tonight's core azimuth, where the footing fails near the edge, or how the weather over the Paria valley behaves after a monsoon cell. That is what a guide is for — and why a Bryce Canyon Stargazing night tour is the highest-value "gear" a first-timer can add to the kit. The guided night page covers exactly what you get.
Ready to shoot? Go with a guide who knows the rim.
Bring this checklist to a Bryce Canyon Stargazing night tour and put it to work on the right viewpoint, with light discipline handled and the core where it should be.