Camera Settings for Milky Way Photography at Bryce Canyon
Bryce's Bortle 2 sky gives you more signal than almost anywhere in the lower 48 — but only if your exposure, focus, and capture workflow are right. Here is the complete setup, from a photographer who shoots it, not a settings card copied off a forum.
The Starting Exposure
If you memorize one block from this page, make it this one. It will get you a usable core frame at Bryce on your very first exposure, and everything after is refinement:
Check the histogram, not the LCD preview. At a true dark site the preview looks deceptively bright at 2 a.m. You want the histogram's main hump pulled off the left wall — roughly one-quarter to one-third of the way across. If it is pinned left, raise ISO before you touch shutter speed.
Full-Frame vs Crop Sensor
You can absolutely shoot the Milky Way on a crop body — but understand the trade you are making. Astrophotography is a light-starved discipline, and sensor area is light-gathering area. A full-frame sensor collects roughly 2.3× the total light of an APS-C sensor at the same exposure settings, which shows up directly as cleaner shadows and smoother core structure.
- Full-frame: Start at ISO 3200–6400 with confidence. Modern FF bodies are essentially ISO-invariant in this range; shoot to protect highlights and lift in post.
- APS-C / Micro Four Thirds: Stay closer to ISO 1600–3200 and lean harder on stacking (below) to claw back the noise. Also remember crop factor: an 18mm lens on APS-C frames like 27mm — you will want something in the 10–16mm range to get the classic wide core-over-foreground composition.
Either way, the lens matters more than the body.
Lens Choice: Wide and Fast Wins
The ideal Bryce Canyon Milky Way lens is in the 14–24mm (full-frame equivalent), f/2.8 or faster class. Wide focal lengths do two things for you: they let you fit the core and a meaningful run of hoodoos in one frame, and they permit longer shutter speeds before stars trail. Fast apertures buy you cleaner ISO. The classics in this class — 14mm f/1.8, 14–24mm f/2.8, 20mm f/1.8, 24mm f/1.4 — all work; what you want to check on any candidate lens is coma performance wide open, because a lens that turns corner stars into seagull shapes will bother you forever. Many photographers stop a fast prime down a third to two-thirds of a stop (f/1.4 → f/1.8–2.0) to clean up coma at trivial light cost.
At Bryce specifically, 14–20mm shines in May and June when the core rises low over the amphitheater from Sunset and Inspiration Points — you can hold hoodoos in the bottom third and the rising core above. By mid-summer, when the galactic arch is high, 14mm (or a panorama) is the only way to keep it all in frame.
Shutter Speed: The 500 Rule vs the NPF Rule
The Earth rotates, so every second your shutter stays open, the stars smear. The old field shorthand is the 500 rule: maximum shutter ≈ 500 ÷ focal length (full-frame equivalent). For a 14mm lens that is about 35 seconds; for 24mm, about 20 seconds.
The 500 rule was calibrated for film and small prints. On modern 24–60MP sensors it visibly trails. The NPF rule is the accurate replacement — it factors in aperture (N), pixel pitch (P), and focal length (F), and typically lands at roughly half the 500-rule value. You do not need to compute it by hand: PhotoPills (Spot Stars panel) calculates NPF for your exact body and lens in two taps. Field-realistic numbers:
| Focal length (FF eq.) | 500 rule | NPF (approx. 45MP) | Practical pick |
|---|---|---|---|
| 14mm | ~36 s | ~17 s | 15–20 s |
| 20mm | ~25 s | ~12 s | 10–13 s |
| 24mm | ~21 s | ~10 s | 8–10 s |
| 35mm | ~14 s | ~7 s | 6–8 s |
Losing shutter time to NPF stings, which is exactly why stacking (below) and star trackers exist — both are covered on the gear checklist.
ISO: 3200–6400 Is Not "Too High"
The most common beginner error at a dark site is fear of ISO. Underexposing at ISO 800 and lifting four stops in Lightroom produces dramatically worse noise than exposing properly at ISO 6400, because at night your noise is dominated by shot noise (too few photons), not sensor gain. Start at ISO 3200, check the histogram, and go to 6400 without hesitation if the hump is still hugging the left edge. At Bryce on a moonless night with a fast lens, ISO 3200 at f/2.0 and 15 s puts the core in a beautiful spot on most full-frame bodies.
The core's color — the amber bulge, the teal airglow, the H-alpha pinks — lives in data a JPEG engine throws away. RAW also lets you set white balance after the fact and recover the inevitable hot foreground from a passing headlamp. Shoot RAW. Always.
Manual Focus on a Bright Star
Autofocus is dead at night, and the infinity mark on your lens barrel lies — it drifts with temperature, and Bryce nights swing 30–40°F from sunset. Here is the reliable routine:
- Switch the lens and body to full manual focus.
- Aim at the brightest star in the sky — Vega, Arcturus, or Jupiter if it's up all work.
- Enable live view and punch in to maximum magnification (10–15×) on the star.
- Rack focus until the star bloats, then back until it is the smallest, tightest point it gets. Some bodies show a red focus-peaking shimmer at the sweet spot.
- Take a test frame and zoom the playback to 100% on corner stars to confirm.
- Lock it down: a strip of gaffer tape over the focus ring saves the night. Re-check focus every hour or after any lens bump — and re-check when the temperature drops.
Intervalometer Stacking: The Pro Move
A single 15-second frame at ISO 6400 is good. Ten to twenty of them, stacked, is in another league. Stacking averages random noise across frames — noise drops by roughly the square root of the frame count, so 16 stacked frames give you about a 4× (two-stop) noise improvement. The sky alignment is handled by software: Sequator (Windows, free) or Starry Landscape Stacker (Mac) align the stars between frames while keeping the hoodoo foreground sharp.
Capture workflow: set your intervalometer (or the body's built-in interval timer) to fire 10–20 identical frames back-to-back with a 1-second gap, touch nothing while it runs, and shoot a few dark frames (lens cap on, same settings) at the same ambient temperature. The whole burst takes five minutes and transforms the file. This is also where an interval timer doubles for star-trail sequences and timelapse over the amphitheater — same rig, different intent.
Putting It Together on the Rim
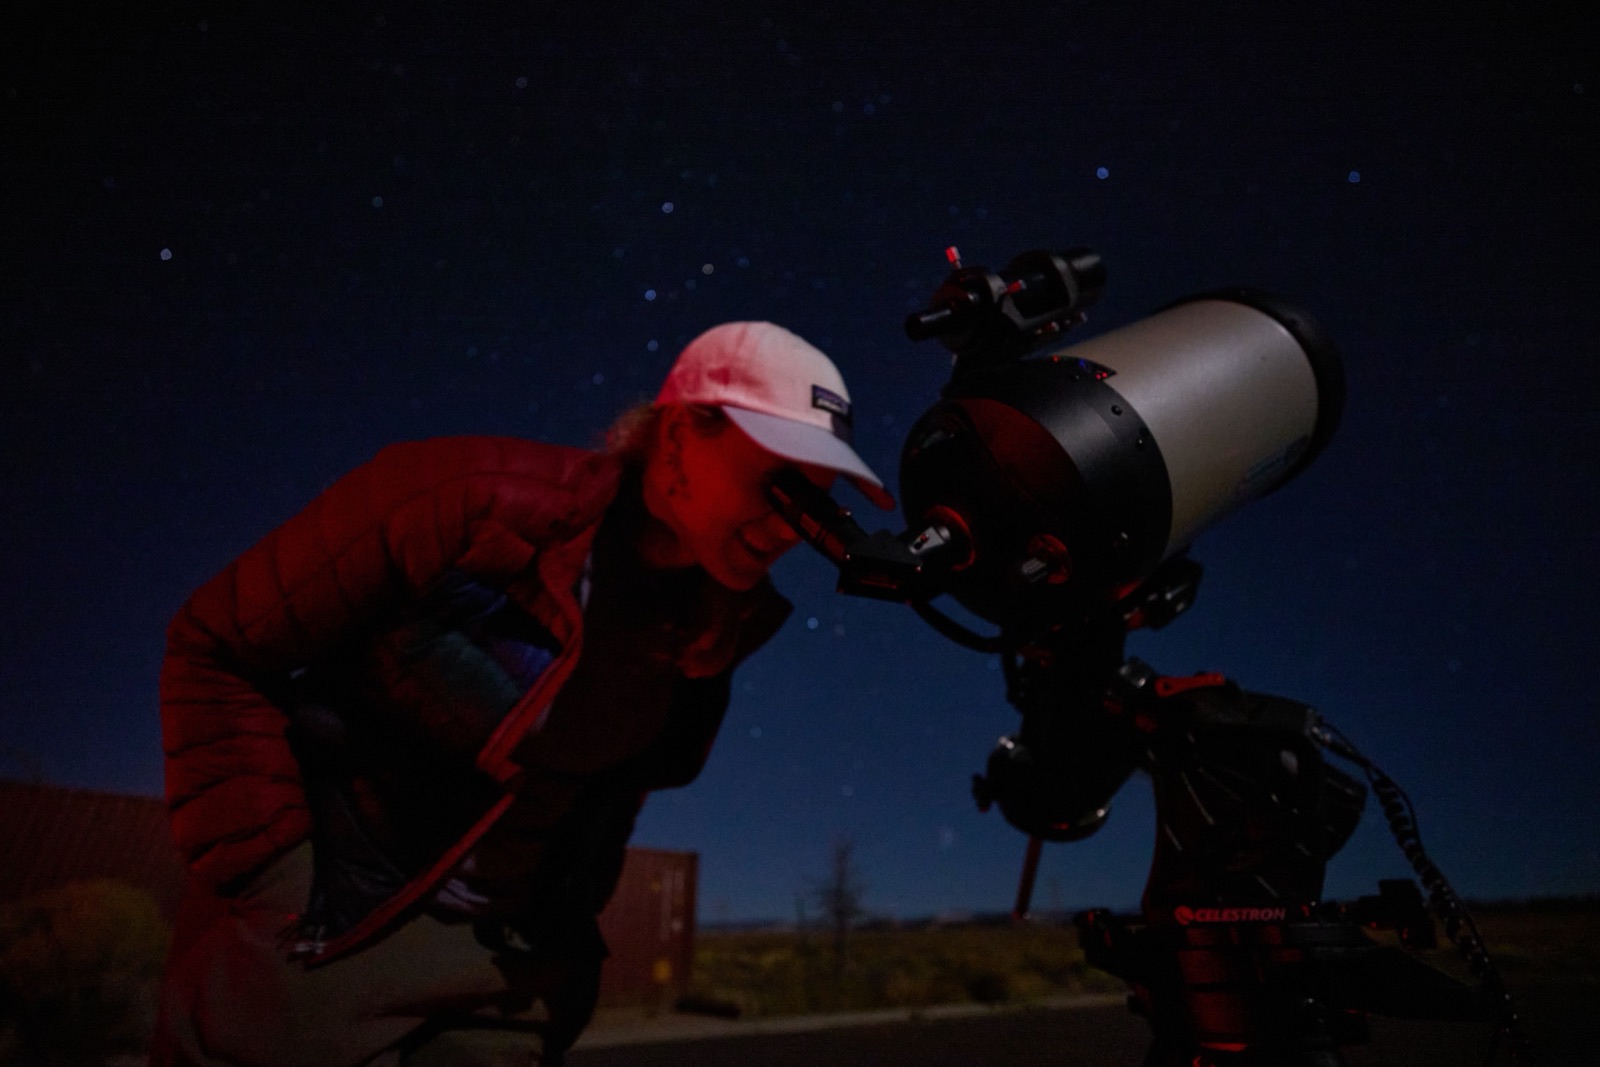
Settings are the easy half. The hard half at Bryce is doing all of the above in true darkness, in the cold, on an unfenced rim, with your composition guesswork costing you the 90-minute window when the core sits perfectly over the hoodoos. That is the case for making your first night a guided one — a guide from Bryce Canyon Stargazing puts you on the right viewpoint for that night's core position and handles the dark-sky logistics while you work the camera. Details on the guided night photography page, and check your dates against the core season calendar first.
Ready to shoot? Go with a guide who knows the rim.
Join a Bryce Canyon Stargazing night tour, bring this page's starting exposure, and spend your time shooting instead of scouting blind.